Covid and all it brought (too much for me to explain my personal circumstances) soon put an end to my workshops and general postings. Finally, I am emerging from my cocoon, not so much into a pretty butterfly or moth but definitely a presence!
During my absence from social media, I have been relying on home crafts to fill my life.. .. along with my garden. I hope my future posts will inspire you to try new crafts or visit new places of interest.
So far, this year has been spent recovering from repetitive strain injury – self induced of course by my passion and indulgence in crafting – it has its drawbacks! It’s been a slow recovery and very frustrating too, hence my absence so far this year.
Hopefully things are improving but at a snail’s pace…..it’s taking a lot of patience, as I’m not one to sit around twiddling my thumbs – particularly sore, swollen ones!
I decided to learn some new crafts whilst on this journey. The first of these a slab clay workshop I attended at Watts Gallery, pottery studio last month. We were to create garden pots inspired the work of Halima Cassell: From the Earth, currently on exhibit at Watts. This exhibition is still running, but do hurry, it finishes this Sunday (18 June 2023). Well worth a visit to see her inspirational work using clays from around the world. Follow this link to book a slot here.
I thoroughly enjoyed the morning workshop, but wished I had made a design prior to the workshop, however it has inspired me to experiment with air dry clay. To be revealed at a later date!
Foyles Pottery Studio, Watts Gallery Artists Village, Compton, nr Guildford, Surrey
Apart from picking fresh herbs from my garden for cooking or for sprinkling finely chopped as a garnish, drying herbs means prolonging the pleasure they bring all year round.
Towards the end of last year I made bouquet garni sachets for friends and family. This is such an easy project and so enjoyable to do as you have the added pleasure of breathing in their sweet aroma!
Begin by drying your herbs. I chose thyme, rosemary, parsley, basil, sage. Hanging in smaller bundles for this makes the drying process speedier.
Whilst your herbs dry, take unbleached cotton muslin. Wash in mild detergent, rinse well and dry.
Cut into squares large enough to contain your chosen herbs.
Place a selection in the centre of each square. I also added some organic dried black peppercorns from my larder. Gather the corners of the muslin and sides ensuring all edges are gathered together with no space for any contents to escape. Tie with kitchen string. I leave a couple of tails to the string so I can make a loop at the top of each bag. This means when using they can be attached to the pan handle and will be easier to remove once cooking is complete.
For gifts, I also made cotton drawstring bags from a piece of plain white cotton pictured here, which has an embroidered insect motif. I felt it made a nice storage bag to keep the herbs smelling fresh.
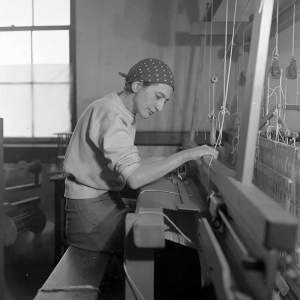
Before our first lockdown at the beginning of 2020 I had the pleasure of attending an exhibition at the Tate Modern, London. As my new found interest for hand loom weaving was developing, initially the exhibition captured my attention from that perspective, but when I read an insight into her life, it became far more fascinating.
Anni Albers (1899-1994) was among the leading innovators of twentieth century modernist abstraction uniting the ancient craft of weaving with the language of modern art. As an artist and designer, teacher and writer she changed the way weaving could be understood as a medium for art, design and architecture.
As a female student at the Bauhaus in Germany in the early 1920s, she was discouraged from taking up certain classes. Anni enrolled in the weaving workshop where she found artistic freedom and began to explore the technical limits of fibres and the loom as a means of expression and experimentation. Albers pioneered a tactile approach to abstraction and modernist design, and her subsequent career as an artist and teacher has had a far-reaching legacy. She inspired and was inspired by her artist contemporaries, among them her teacher, Paul Klee, and her husband, Josef Albers.
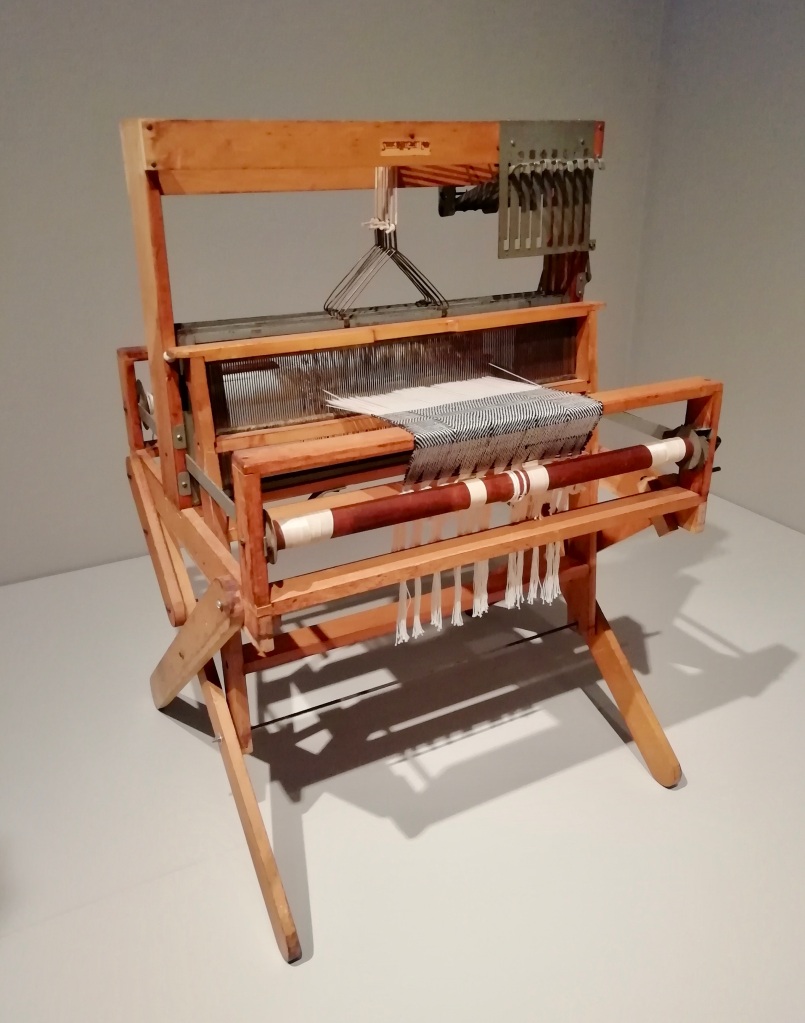
Anni took her form of weaving to a new level. She used her weaving skills and entwined the creative process with art, architecture and design. Objects from exquisite small-scale ‘pictorial weavings’ to large wall-hangings.
Anni made many of her pictorial weavings on this eight harness handloom pictured above. Displayed at the Tate Modern Exhibition of her work in 2019-20.
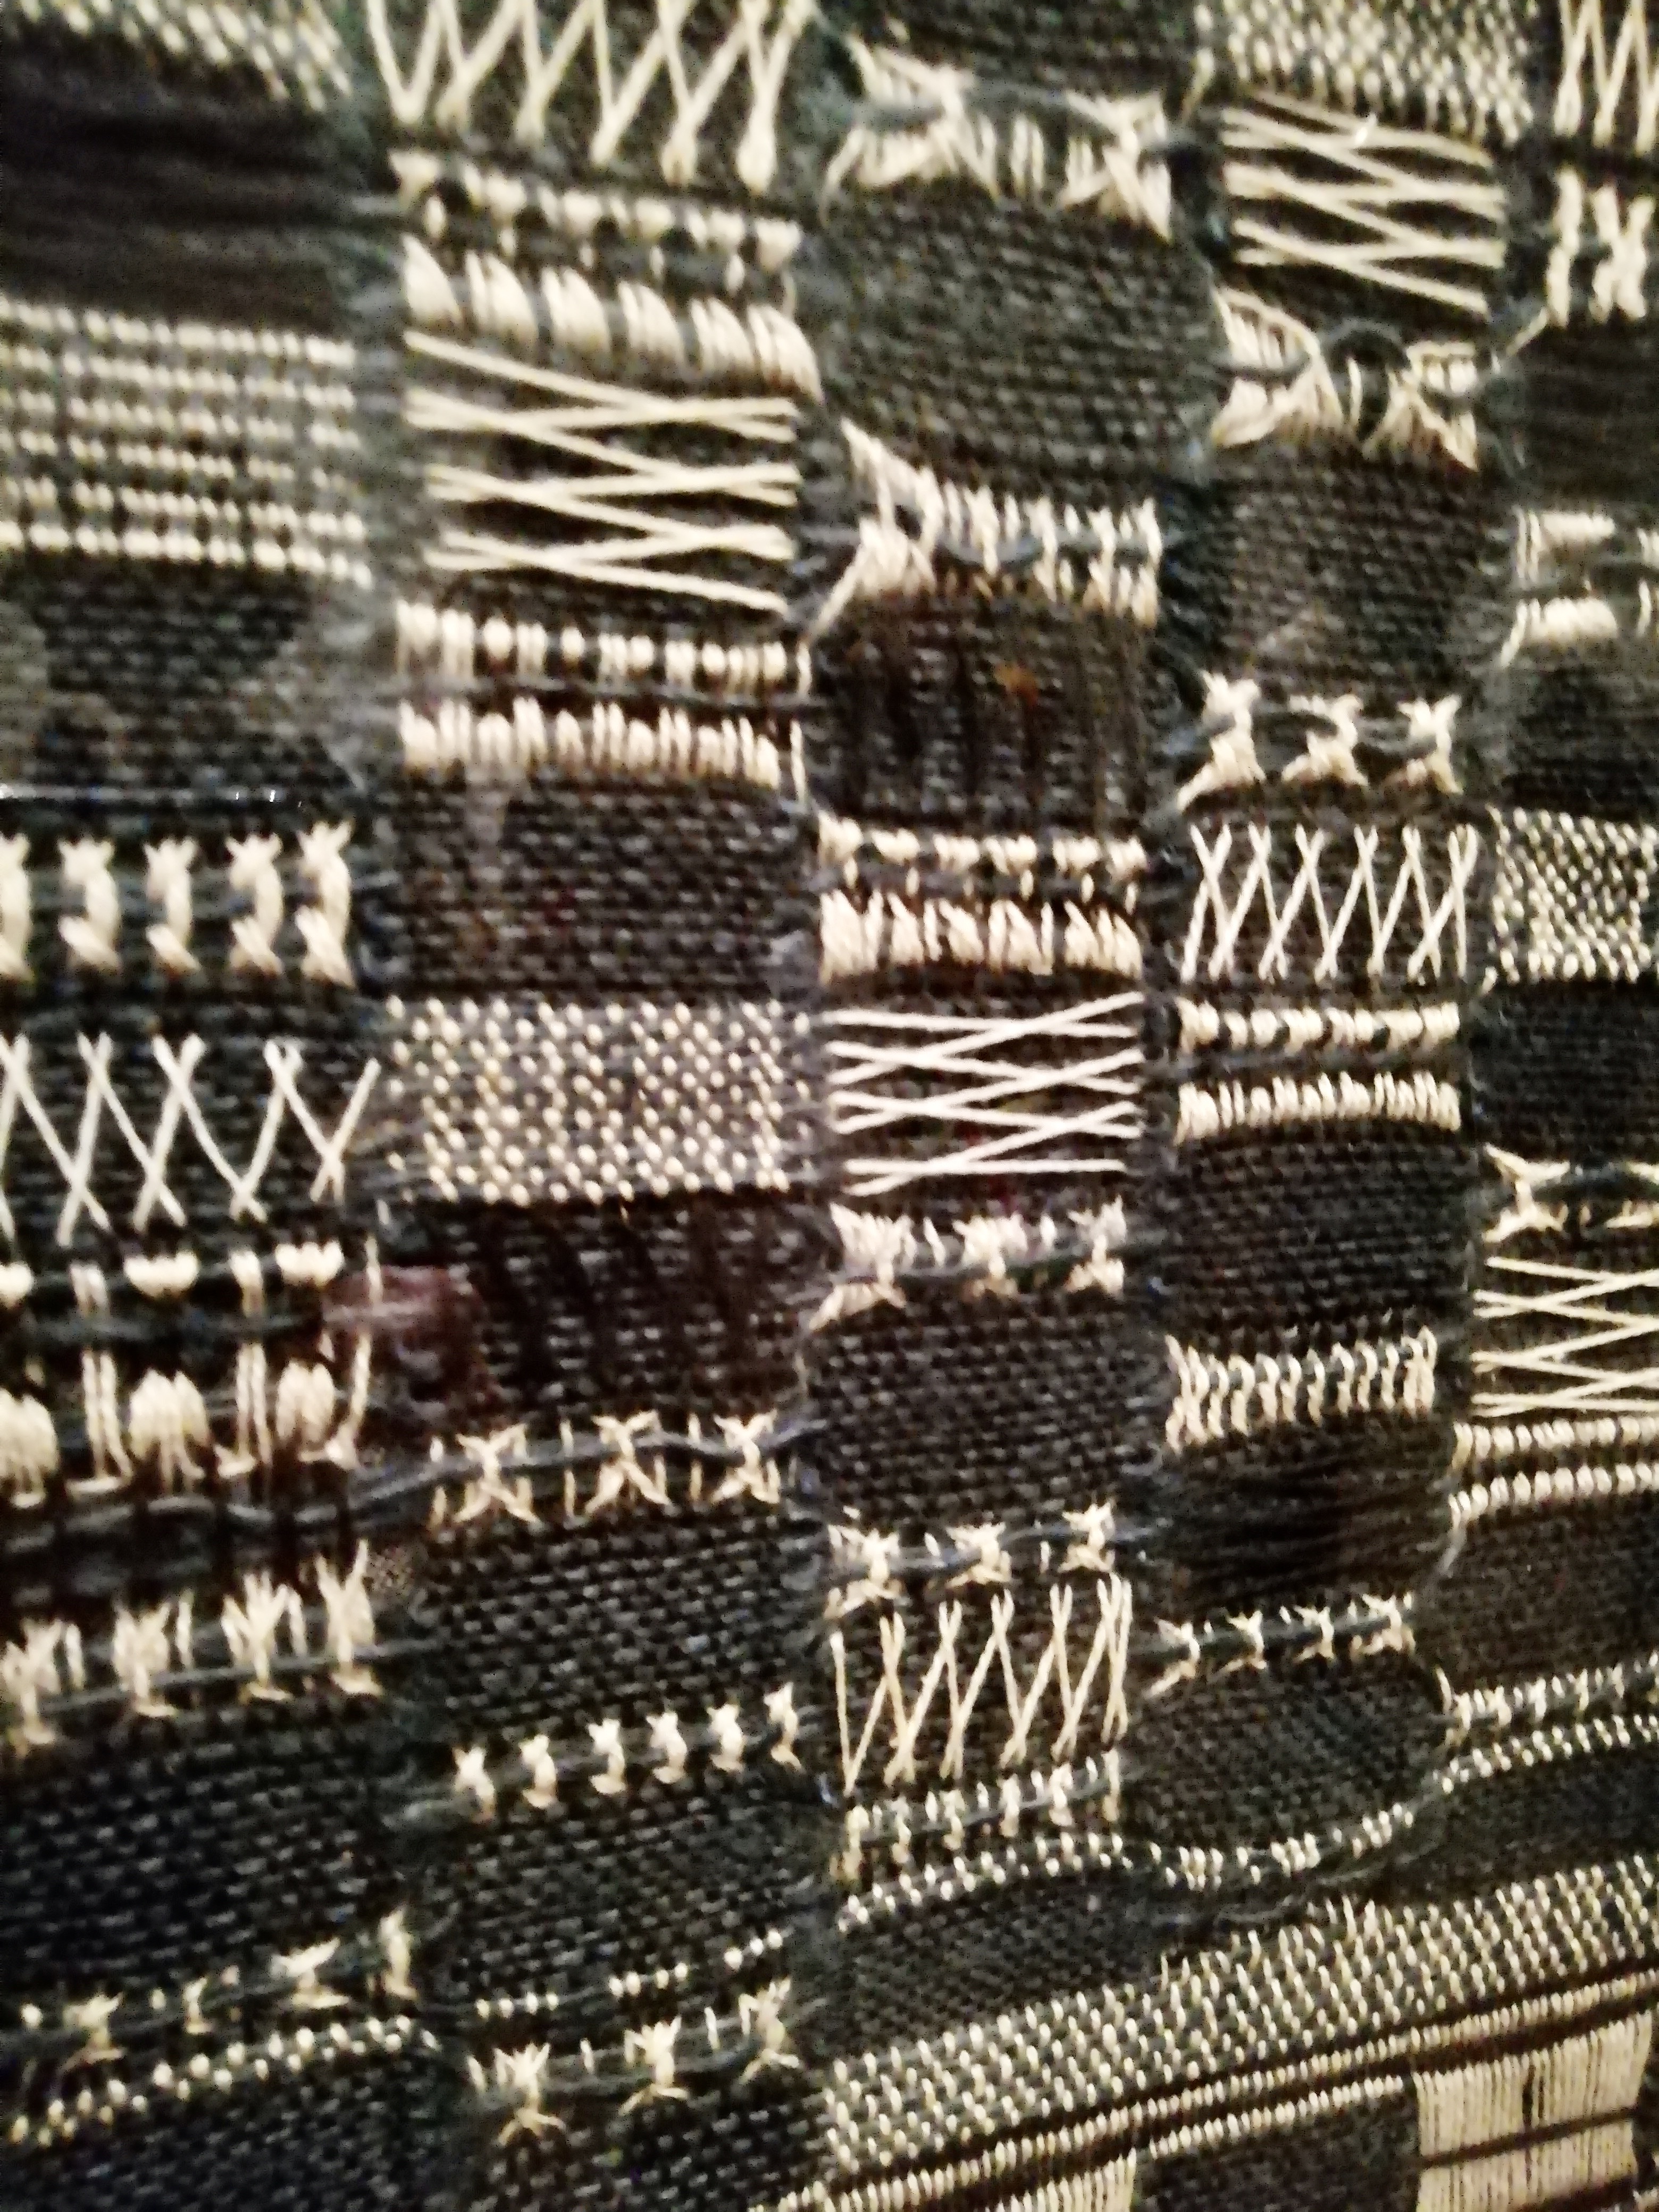
The exhibition displayed some of her preliminary designs for wall hangings. Using ancient techniques to develop modernist designs.
Images above show her use of texture adding depth to her wall hangings.
As weaving is a very slow process, her output was relatively small compared to other artists, but there are several factors that make her work seem particularly timely and that resonate in today’s digitised world of instant screen time: such as the slow time of hand-loom weaving and the strong affective sense of the weaver’s hand and touch. As Anni Albers put it, weaving offered ‘ways to regain sensitivity towards textile surfaces: texture’ which also suggests a means to regain a connectedness to a bodily and corporeal existence.
She wasn’t the first artist and designer to treat textiles as central to an ethical modern practice (William Morris), but she was certainly one of the most important weavers of the 20th century to think through a textile imaginary.
Thank you to the Tate Modern for the information I have been able to provide.
Autumn is my favourite season. Nothing could be nicer than wrapping up warm and as the sun begins to set, sitting aside the fire pit as the evening chill seeps into my bones. A tasty bowl of home made soup cupped in my hands.
As the leaves begin to turn and acorns and pine cones crunch beneath my feet as I step out for my daily walk, a project springs to mind ……one I have intended doing every autumn for a number of years, but never seem to get round to making…… firelighters for the fire pit!
I had already collected some herbs from the garden, which had dried nicely. The intention to make some moth chasers for my shop and possibly some bouquet garni sachets. This left me with all the dried stalks which smell so sweet it’s a shame not to make use of them.
These along with some old gnarled pieces of branches and twigs are perfect to add in the centre… but what do we add to make them burn well? Candle wax. Using up any old ends of burnt down candle.
It took some experimenting to successfully make these with the minimum mess! Good preparation – everything to hand, and using OLD or redundant kitchen equipment.
I found this vintage Le Creuset pot at the back of my cupboard – I had totally forgotten about! Also an old ladle I’d purchased at a flea market in Amsterdam some years back. Both perfect for the task, along with……. garden secateurs, scissors, garden twine, parchment paper, an old glass container slightly larger than the pan to melt the wax in, if you do not want to melt it directly into the pan). A selection of dried stalks, pine cones and twigs.
I found the best twigs for me were dried thyme, as the were already bent and twisted, which meant easier to use for wrapping. Any other herb stalks such as rosemary or lavender will work too and all add a nice smell as they burn, but any twigs will work.
Another suggestion I found was to use cotton wool balls for the centre of the lighters. I did experiment with these too, but ideally I prefer to use the natural products from the ‘forest floor’ and following my trial will for future making. Also oils can be used to ignite the flame, but I found this rather messy and unlike the wax which solidifies when it cools, the oil obviously remain liquid!
To begin making ……
Wrap a length of garden twine around each cotton wool ball/cone/ twig, long enough to tie securely and leave a length to handle and tie to drip dry. Break up the wax into small pieces as best you can. Either place directly into the pan (only if unwanted for other purposes!) or fill with hot water and place the candle pieces in a glass bowl that can sit above without touch the water.
Stand on the heat to boil the water and melt the wax. Once the wax is ready, take one at a time by the string & dip into the melted wax. This is VERY hot so take care!
Once coated lift by the string and allow to drip for a moment back into the container. Place on a piece of parchment paper. I transferred mine to hang to help set more quickly.
The pine cones look as though they are covered with snow as the wax sets!
Once dry, cover with the layers of twigs and dried leaves, whatever you have selected. Tie securely with twine…. and there you have it!
Do remember these are for OUTDOOR USE ONLY.
On reflection, as mentioned I prefer to use the wood and pine cones for the centre, although the cones I used were too big and I wish I had used the smaller ones. Only because they are harder to wrap!
I found these smaller cones after making which would have been ideal!
It’s hard to believe it’s been six months since we entered this surreal period of our lives….
It has affected each and every one of us in some way or another, whether devastatingly or mildly. I hope that for those of your reading this, the latter.
I’ve been looking back over visits to places I had made last year with happy memories, also thinking how much we have taken for granted the way we led our lives.
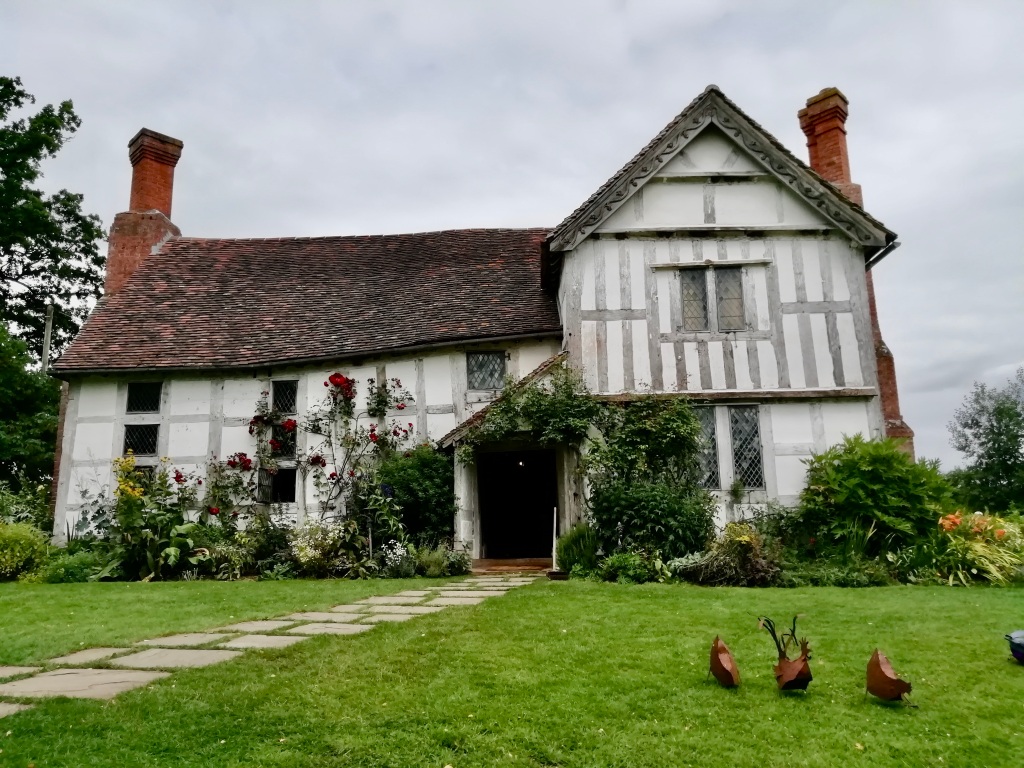
One trip I thoroughly enjoyed was to Brockhampton. An ancient estate nestled in the dramatic Herefordshire hills owned by the National Trust. It has been utilised since the early Middle Ages and features a wealth of interesting features such as a ruined Norman chapel. Despite being so old, the manor has changed little over the centuries.
The Old Manor House
sdr
Lovely view from the manor across the garden.
Dressed for the period, a baker had made some cakes using an old English recipe. The aroma was amazing & they tasted delicious – sadly the plate emptied before I took a picture!
Bloomers and corset drying by the fire.
Ale was drunk like water… back in the day!
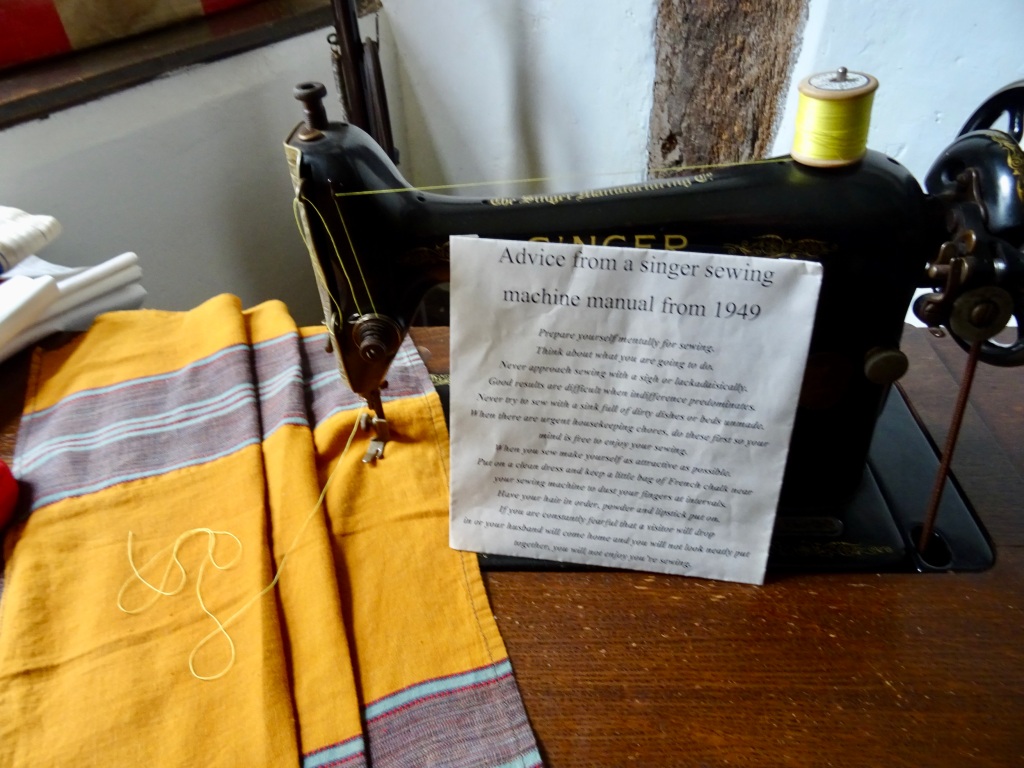
“Prepare yourself mentally for sewing. Think about what you are going to do. Never approach sewing with a sigh, or lackadaisically. Good results are difficult when indifference predominates. Never try to sew with a sink full of dirty dishes or beds unmade. When there are urgent housekeeping chores, do those first so your mind is free to enjoy your sewing…….”
– Advice from a Singer sewing machine manual dated 1949 –
mde
dav
In the main hall there was a demonstration of beautiful musical instruments, one in particular being played by a musician dressed for the occasion and period of time.
Dressed for the part, a musician plays on the beautiful old instruments. A delight to hear as the musical notes echoed & filled the Great Hall.
Outside in the grounds, the ruin of the Norman chapel.